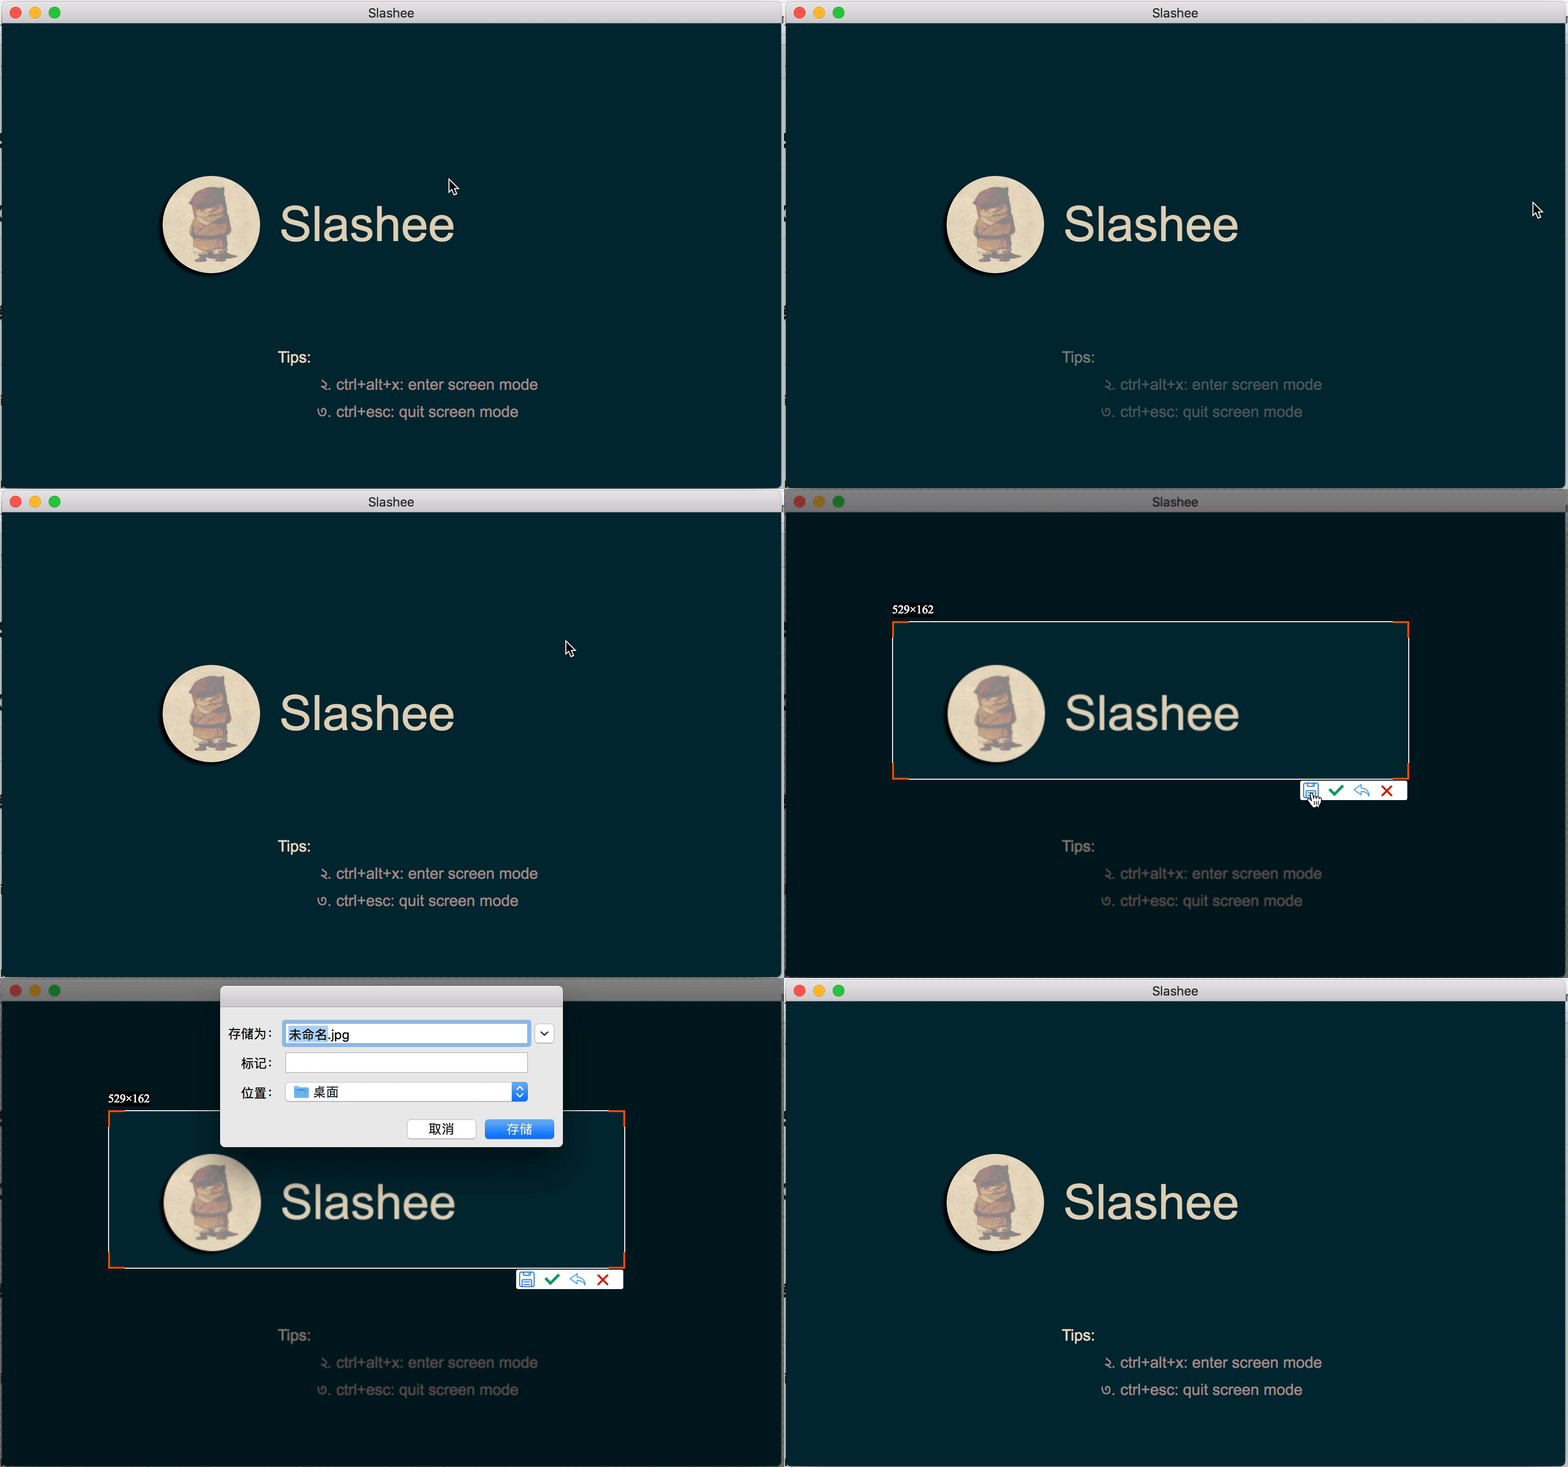
思路来源于chong0808,我对其进行了一定美化与改造
测试案例
下载之后
$ npm i electron -g
启动
$ npm run dev
使用截图

文件结构
1 | ├── screen // 插件主要文件 |
使用方式
下载文件之后 主进程中引入 文件
1 | var screenShot = require('./screen/mainProcess'); |
quit:退出快捷键 shotKey:截图快捷键
渲染进程使用方式示例
1 | <!DOCTYPE html> |
插件主进程文件
渲染进程中我们也能使用主进程中的api,在这个文件中,主要的用途就是渲染进程之间的通讯桥梁
1 | const { ipcMain, dialog,globalShortcut } = require('electron'); |
外部渲染进程引入的index.js
1. 截图按钮与取消绑定方法
1 | // 点击事件绑定 |
2.在点击之后 对屏幕进行截屏
1 | /** |
3.创建渲染进程。
a.创建一个无边框全屏的渲染进程1
2
3
4
5
6
7
8
9
10
11
12
13
14
15
16
17
18
19
20
21
22
23
24
25
26
27
28
29
30var opts = {
fullscreen: true,
alwaysOnTop: true,
skipTaskbar: false,
autoHideMenuBar: true
}
/**
* 创建截屏窗口
*/
function createChildWin(_url, opts) {
var config = {
fullscreen: true,
frame: false
}
config = Object.assign(config, opts)
var _win = new BrowserWindow(config);
_win.loadURL(url.format({
pathname: path.join(__dirname + _url),
protocol: 'file',
slashes: true
}))
_win.on('closed', () => {
_win = null;
})
_win.on('close', () => {
_win = null;
})
return _win;
}
b.将第二步骤中截取的屏幕资源 加载到该渲染进程中的canvas中
剩下的都是canvas截图的操作1
2
3
4
5
6
7
8
9
10
11
12
13
14
15
16
17
18
19
20
21
22
23
24
25
26
27
28
29
30
31
32
33
34
35
36
37
38
39
40
41
42
43
44
45
46
47
48
49
50
51
52
53
54
55/*
*
*原理运用遮罩层,俩个canvas,底下为背景原图产生一个黑色背景画布,上层选区,将选中像素绘制到选区
*鼠标按下移动鼠标产生一个矩形框,
*
*/
// 创建一个类
class Screen {
constructor(cas, casMask, src) {
this.canvas = document.getElementById(cas);
this.canvasMask = document.getElementById(casMask);
this.context = this.canvas.getContext("2d");
this.contextMask = this.canvasMask.getContext("2d");
this.width = screen.width;
this.height = screen.height;
this.canvas.width = this.width;
this.canvas.height = this.height;
this.image = new Image();
this.image.src = src;
this.cuted = false;
this.isShowTool = false;
this.tool = document.querySelectorAll('.tool')[0];
this.tip = document.querySelectorAll('.tipNum')[0];
this.leftTopCursor = document.querySelectorAll('.left_top')[0];
this.rightTopCursor = document.querySelectorAll('.right_top')[0];
this.leftBottomCursor = document.querySelectorAll('.left_bottom')[0];
this.rightBottomCursor = document.querySelectorAll('.right_bottom')[0];
// 原本是将屏幕截图image画到this.context画布上的
// 不知道为何画出来的是空白的
// 取而代之的方式是全屏一张图片
document.getElementsByTagName('body')[0].appendChild(this.image);
// this.drawImg(this.image);
this.createMask();
this.getMouse();
// 绑定this到原型链上
this.drawImg = this.drawImg.bind(this)
this.getMouse = this.getMouse.bind(this)
this.clearCtx = this.clearCtx.bind(this)
this.createRect = this.createRect.bind(this)
this.createMask = this.createMask.bind(this)
this.createReatImage = this.createReatImage.bind(this)
this.tipShow = this.tipShow.bind(this)
this.showTool = this.showTool.bind(this)
this.hideTool = this.hideTool.bind(this)
this.close = this.close.bind(this)
this.sendMsg = this.sendMsg.bind(this)
this.RGBA2ImageData = this.RGBA2ImageData.bind(this)
this.dragEvent = this.dragEvent.bind(this)
}
完整代码地址:来这里呀
若你觉得我的文章对你有帮助,欢迎点击上方按钮对我打赏
扫描二维码,分享此文章
